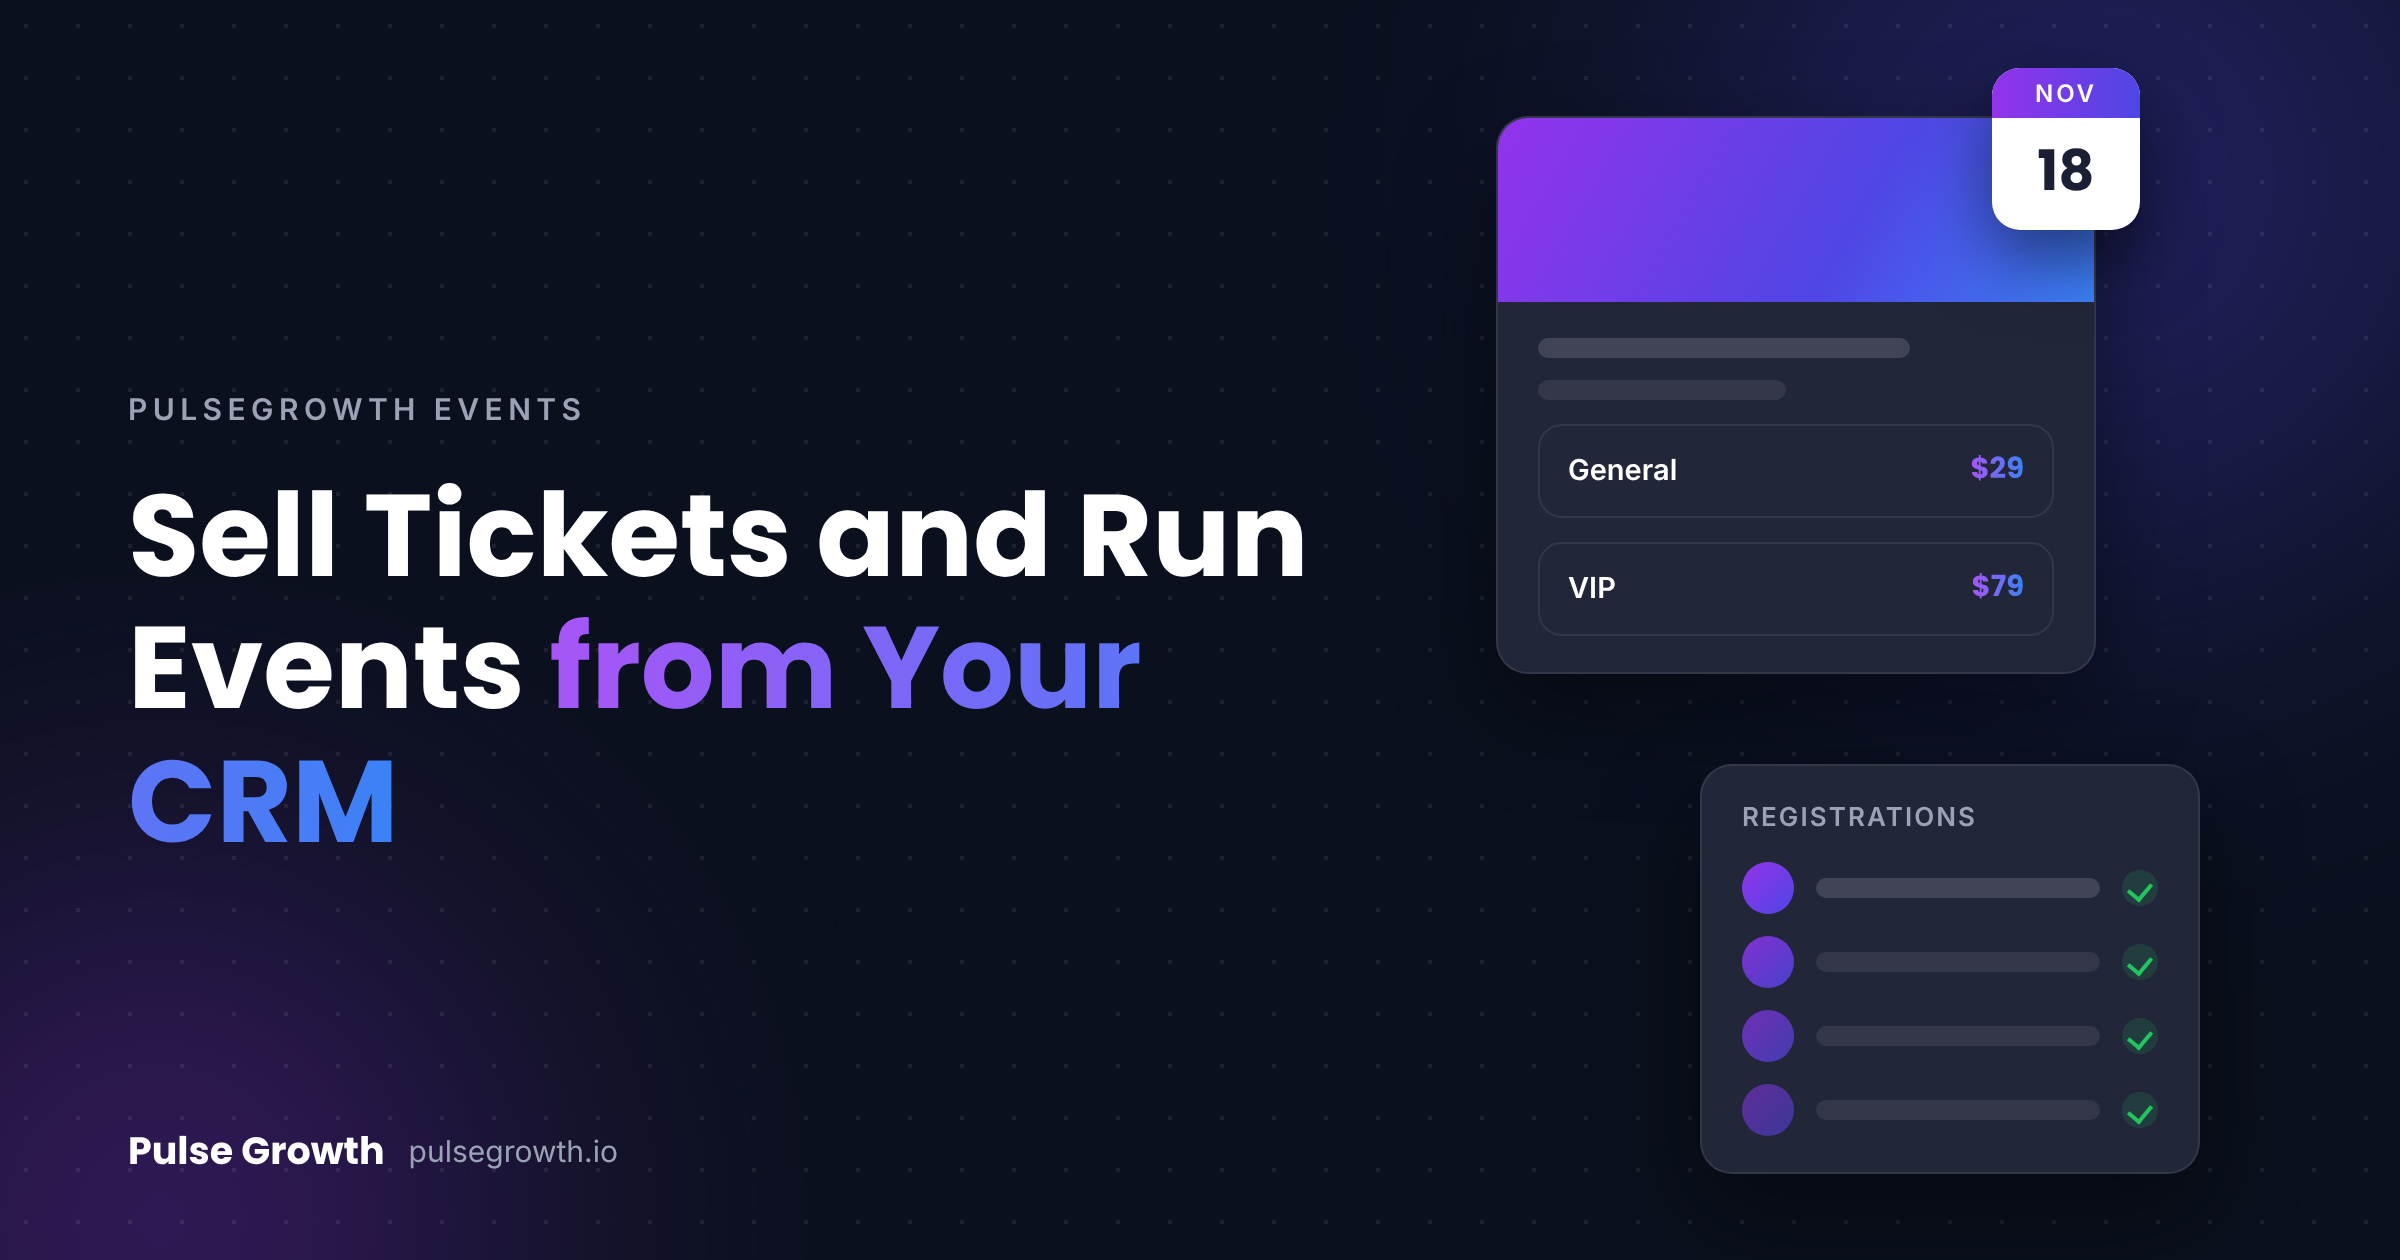
How to Sell Tickets and Run Events from Your CRM
Here's how most small business events get run: tickets in one tool, attendees in a spreadsheet, payments somewhere else, and the follow-up in whichever inbox the registrations landed. By the time the workshop starts, you've paid for three tools and none of them know about each other.
PulseGrowth, an all-in-one CRM and automation platform for service businesses, now includes a full Events feature, so the whole thing can run where your contacts already live. Here's the walkthrough, step by step.
Quick Answer: How do you sell tickets to a workshop from your CRM?
In PulseGrowth, go to Memberships, then Events, and click Create Event. Choose between an RSVP event or a ticketed event, add your event details and location, then create your tickets with prices and quantities. Customize the event page, review everything, and click Publish. People register or buy tickets on your event page, and every attendee lands in your contacts, so you can sell tickets to a workshop, class, or webinar without a separate ticketing tool.
Why run events from your CRM instead of a ticketing tool?
One reason beats all the others: every attendee becomes a contact you can follow up with. On a standalone ticketing platform, your attendee list belongs to the platform, and getting it into your CRM is an export, an import, and an afternoon you won't get back. When the event runs inside your CRM, registration and follow-up are the same system. The person who attended your free workshop this month is the lead you nurture into a client next month.
The money side stays together too. Ticket payments run through the same payment setup you already use for invoices and payment links (we covered that side of the platform in can your CRM take payments). One platform, one attendee list, one place to see what the event actually earned. You can see what's included on our pricing page.
How do you create the event?
Log in to your PulseGrowth account and go to the Memberships tab in the left-hand menu, then select Events. This is home base for creating new events and managing existing ones.
Click Create Event. The first choice is the event type:
- An RSVP event lets attendees register and confirm attendance, with no payment involved. Good for free workshops, open houses, and community sessions.
- A ticketed event lets you offer free or paid tickets. This is the one to pick for paid workshops, classes, and anything with limited seats you want to sell.
Select the type that fits and click Continue. Next come the event details: add the event name, upload a cover image, and write a short summary of what the event is about. There's room for a longer description too, and it's worth filling in, because this text is what convinces someone the event is worth their evening.
Then set the starting and ending dates and times. Pay attention to the time zone here, especially for online events. An attendee in another state who shows up an hour late because the event was saved in the wrong time zone will not blame themselves.
Next, choose where the event happens. For an in-person event, enter the venue details and location. For an online event, add the meeting link attendees will use to join. Finally, enter the organizer's name, email address, and phone number, with an optional organizer image, and finish the initial creation.
How do you set up tickets, prices, and discounts?
The event now exists, but nobody can buy anything yet. Open the Tickets section and click Create Ticket.
Give the ticket a name, like General Admission or VIP. Set the price, which can be free or paid. Then set the total number of tickets available and the maximum number one person can buy in a single order. Click Create to save it.
You can create multiple ticket types for the same event, which is how you build tiers: an early supporter price, a standard seat, and a VIP option with extras. If you want to run discounts, open the Coupons section and create coupon codes that attendees apply at checkout. A simple early bird code with a deadline is still one of the most reliable ways to get people to commit now instead of "closer to the date."
How do you build the schedule and design the event page?
If your event has multiple sessions, presentations, or workshops, open the Schedule tab. Enter each session's title, its start and end times, and any extra details, then click Add Schedule. Repeat for as many sessions as you need, and attendees see a clear agenda instead of a mystery block of four hours.
Then move to Page and Design. This controls what visitors see on your event page: you can show or hide sections like speaker information, event location, and ticket details, and adjust the design to match your branding. When it looks right, click Save.
How do you track registrations and get paid?
The Registration tab is your live scoreboard. It shows every registration, how many tickets have been sold, and the revenue the event has generated, all without a spreadsheet in sight.
Under Settings, a few options deserve a look before launch. Set the venue capacity if your space is limited, or select unlimited capacity if it isn't. Check the check-in settings, payment settings, and notification settings so confirmations and reminders behave the way you expect.
Then review everything: name, dates, times, location, organizer info, tickets, and schedule. Preview the event page, and when you're happy, click Publish. Your event page is live and ready to share. The full video walkthrough is on our YouTube channel if you'd rather watch the clicks than read them.
What should you know before your first event?
A few honest notes from the setup trenches. Paid tickets need your payment settings connected before anyone can check out, so sort that first rather than at 9pm on launch day. Always buy a test ticket yourself (a free coupon code works well for this) to see exactly what attendees see, from checkout to confirmation. And double-check capacity against your actual room, because the software will happily sell seats the fire marshal says you don't have.
Who is this good for? Coaches and consultants running paid workshops or group programs. Studios and gyms selling classes and bootcamps. Med spas and clinics hosting open evenings and launch events. Local businesses running community sessions that fill the pipeline. If people give you their time in scheduled groups, this feature replaces a tool you're currently paying for. And since attendees book time with you in other ways too, it pairs naturally with the right booking calendar setup.
Key Takeaways
- Create events in PulseGrowth under Memberships, then Events, choosing RSVP for free registrations or ticketed for paid seats.
- Build multiple ticket types with their own prices, quantities, and per-order limits, and use coupon codes for early bird offers.
- Use the Schedule tab for multi-session agendas and Page and Design to control what visitors see.
- The Registration tab tracks tickets sold and revenue live, with every attendee saved as a contact for follow-up.
- Connect your payment settings and buy a test ticket yourself before you share the event page.
FAQs
Can I sell both free and paid tickets for the same event?
Yes. Create a ticketed event and add multiple ticket types, and each one can have its own price, including free. That's a simple way to mix free general seats with a paid VIP tier.
Can someone buy more than one ticket at a time?
Yes. Each ticket type has a setting for the maximum number of tickets one person can purchase in a single order, so attendees can grab seats for colleagues or friends up to the limit you choose.
Does this work for online events as well as in-person ones?
Yes. When you create the event, you choose online or physical. For online events you add the meeting link attendees use to join, and for in-person events you enter the venue details instead.
How do I offer an early bird discount?
Use the Coupons section to create a coupon code, and share it with a deadline. You can also create a separate lower-priced ticket type and cap its quantity, so the discount ends automatically when it sells out.
Where do attendee details go after someone registers?
Straight into your PulseGrowth contacts, alongside the registration and payment record. That means your follow-up emails, texts, and automations can start working on attendees without any exporting or importing.
Want more like this?
The best way to see the Events feature is to build one. Start your free 14 day trial of PulseGrowth, with events, payments, automations, and unlimited users included. Start free, and we'll help you get it set up.
The PulseGrowth Team


